Using myPrintcenter
myPrintCenter is used to manage the print jobs that you have sent to the PrintLess printers throughout campus.
Note: At this time, all print jobs will be printed single-sided in color via myPrintCenter.
Need additional prints with different print settings? Print one copy and use the copier function to print further copies with updated print settings (double-sided, black & white, etc.)
Important: Please ensure that you save your documents in US letter (8.5 x 11 in) format.
- Open a web browser and visit myprintcenter.umassd.edu.
If you are not already logged into the portal or other UMass Dartmouth system, the login page is displayed.
- Click the Sign in to continue button.
- On the login page, enter your UMassD Logon Username and Password into the fields provided, then click the Login button. If you have not logged in recently with your chosen browser, you will need to complete multifactor authentication with Microsoft Authenticator.
- The myPrintCenter window is displayed, as shown here.
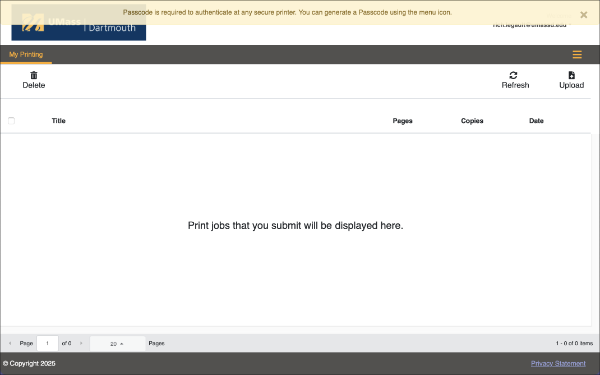
If a yellow bar appears at the top of the page, click the X button to close it. UMass Dartmouth is not using Passcodes at this time.
The Job List displays a list of documents that are waiting to be printed. You can send jobs to PrintLess by:
- Printing in the public computer labs
- Uploading from the myPrintCenter page
- To add a document to the list, click the Upload button. A file browser dialog box is displayed. The appearance depends on your device’s operating system.
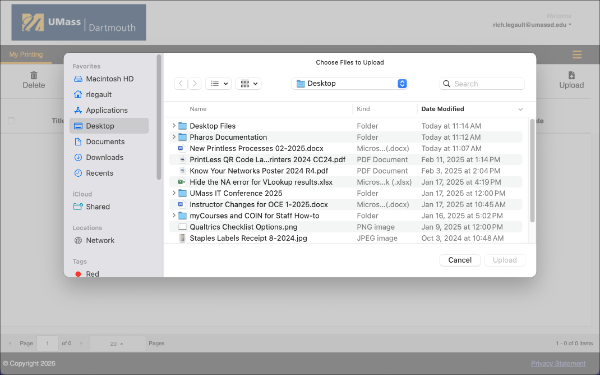
- Navigate to the file you want to print, select it, and click the Upload button. You can also drag-and-drop files onto the myPrintCenter window in your browser.
The following file formats are allowed:
- Microsoft Word, Excel, PowerPoint, and Visio files
- Adobe Portable Document Format (PDF) files
- Image files (JPG, GIF, PNG, BMP)
- Text files (CSV, RTF, TXT)
An options dialog box is displayed.
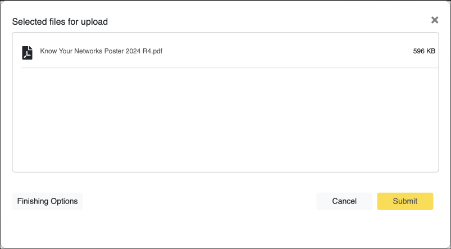
- To change the default print options, click the Finishing Options button. The Finishing Options dialog box is displayed.
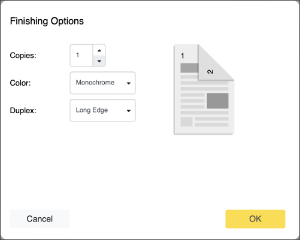
-
- Use the Copies field to change the number of copies you wish to print.
- Use the Color pop-up menu to choose between Color and Monochrome (black & white) printing. Monochrome is the default.
- Use the Duplex pop-up menu to choose Off for single-sided printing, or Long Edge or Short Edge for double-sided printing. Long Edge is the default.
- Click the OK button to save any changes.
- Important: You can also change these settings at the printer when you’re ready to print.
- Click the Submit button to continue.
- The myPrintLess window is displayed, as shown here.
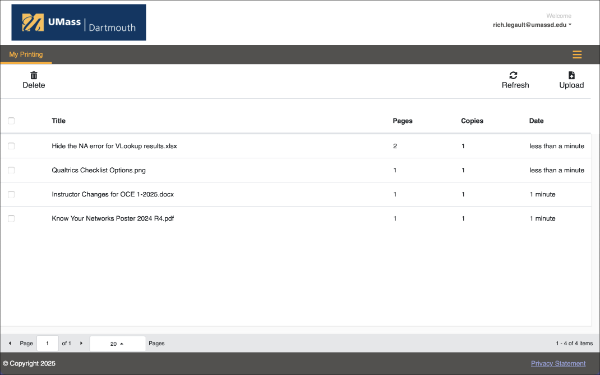
-
- Click the column headings above the list to sort by document Pages, Copies, or Date.
- To release a print job, you must visit a PrintLess station, and release the print job using your UMass Pass or the Pharos Secure Release mobile app. Remember that your documents are only available for 48 hours after you send them to be printed.
10. Don’t forget to Log out when you’re finished.